
Why You’ll Love This Recipe
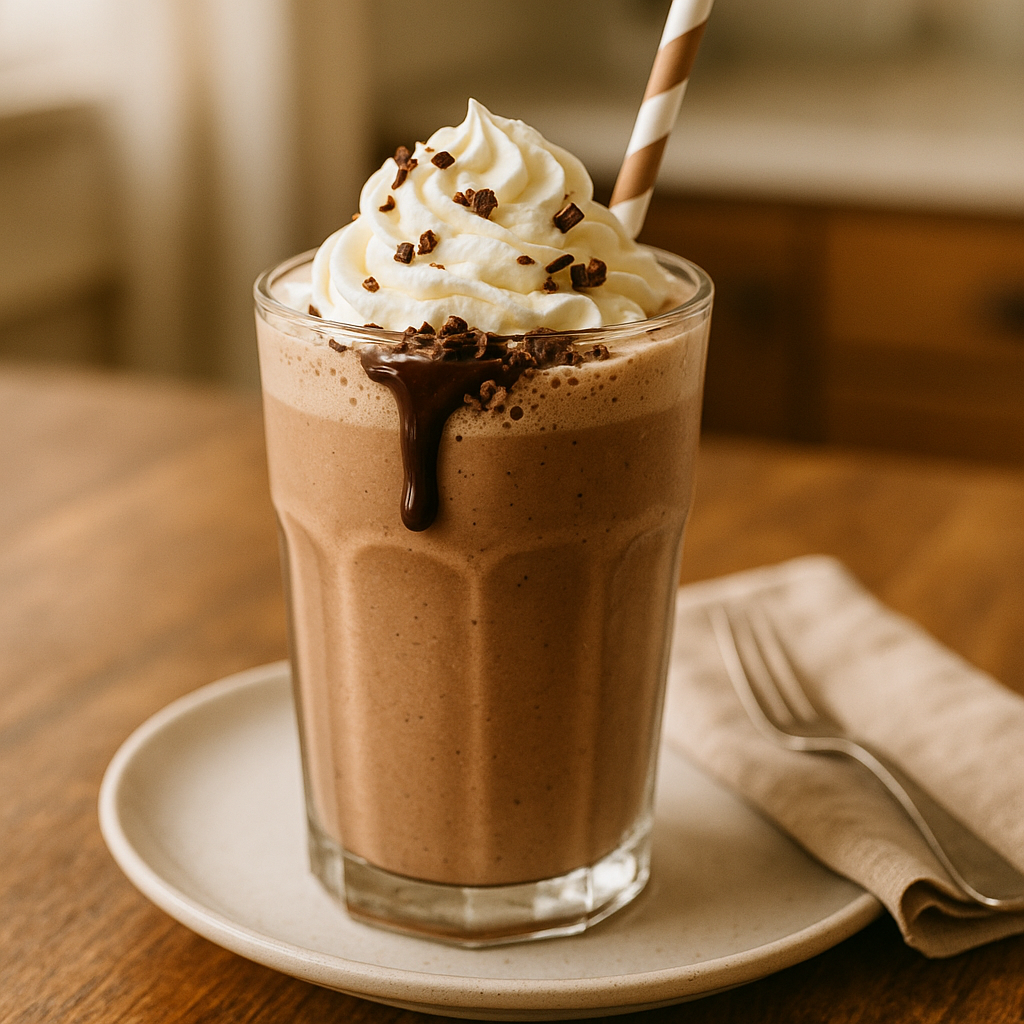
Chocolate Milkshake Bliss isn’t just a drink; it’s an experience that promises to transport you back to the carefree days of childhood with its rich, creamy texture and intense chocolate flavor. This recipe is perfect for those moments when you need a quick pick-me-up or a sweet treat to share with family and friends. Imagine the smooth, velvety texture dancing on your taste buds, followed by a delightful chocolatey aroma that fills the air. It’s more than just a milkshake; it’s a celebration of comfort and indulgence in every sip.
What sets this recipe apart is its simplicity and reliability. With just a few ingredients and a blender, you can create a milkshake that rivals those found in gourmet cafes. Whether you’re a seasoned chef or a kitchen novice, this recipe guarantees perfect results every time. The secret? It’s all in the balance of flavors and textures, ensuring a milkshake that’s not too sweet, not too thick, but just right. Once you try it, you’ll understand why it has become a beloved staple for so many.
Ingredients Breakdown
To create this Chocolate Milkshake Bliss, you’ll need a handful of simple ingredients that you likely already have at home. Here’s what you’ll need:
- Chocolate Ice Cream: The base of your milkshake, providing rich flavor and creamy texture. Opt for high-quality ice cream for the best results.
- Milk: Choose whole milk for a richer taste, but feel free to use almond or oat milk for a dairy-free version.
- Cocoa Powder: Enhances the chocolate flavor, making it more intense. Ensure you use unsweetened cocoa powder.
- Vanilla Extract: Adds depth and a hint of sweetness, balancing the chocolate perfectly.
- Whipped Cream: Optional, but highly recommended for a touch of luxury and added creaminess.
- Chocolate Shavings or Sprinkles: For garnish and a bit of crunch, making your milkshake visually appealing and even more delicious.
If you’re missing an ingredient, don’t worry! You can easily substitute chocolate syrup for cocoa powder or experiment with different types of milk to suit your dietary needs. The key is to maintain the balance for that classic milkshake flavor.
Step-by-Step Instructions
Creating your own Chocolate Milkshake Bliss is as easy as pie. Follow these steps for a perfect outcome:
- Prepare Your Ingredients: Gather all your ingredients and make sure your ice cream is slightly softened for easier blending.
- Blend the Base: In a blender, combine 2 cups of chocolate ice cream, 1 cup of milk, 2 tablespoons of cocoa powder, and 1 teaspoon of vanilla extract. Blend until smooth and creamy, ensuring all ingredients are well mixed.
- Check the Consistency: If the milkshake is too thick, add a little more milk and blend again. If it’s too thin, add a scoop of ice cream and blend.
- Pour and Serve: Once you’ve achieved the desired consistency, pour the milkshake into a chilled glass. Top with whipped cream and chocolate shavings for an extra touch of indulgence.
- Enjoy Immediately: For the best experience, serve your milkshake immediately to enjoy the perfect blend of textures and flavors.
Pro Tips for Perfect Results
To elevate your milkshake game, keep these expert tips in mind:
- Use a high-powered blender for a smoother texture and to easily blend all ingredients.
- Chill your glasses in the freezer for a few minutes before serving to keep your milkshake cold longer.
- For an extra chocolatey kick, add a tablespoon of chocolate syrup or melted chocolate to the blender.
- Experiment with flavors by adding a pinch of sea salt or a dash of espresso powder for a unique twist.
- If you prefer a thicker milkshake, reduce the amount of milk or add more ice cream.
Common Mistakes to Avoid
Even the simplest recipes can go awry if you’re not careful. Avoid these pitfalls for a flawless milkshake:
- Over-blending can cause the ice cream to melt too much, resulting in a watery consistency. Blend just until smooth.
- Using ice instead of ice cream can dilute the flavor and alter the texture. Stick with ice cream for the best results.
- Skipping the cocoa powder reduces the intensity of the chocolate flavor. It’s a crucial component of the recipe.
- Pouring the milkshake into a warm glass can quickly melt it. Always use chilled glasses.
Variations and Add-ons
One of the joys of making milkshakes is the ability to customize them to your liking. Here are some delicious variations and add-ons to try:
- Peanut Butter Chocolate Milkshake: Add 2 tablespoons of peanut butter for a rich, nutty flavor.
- Mint Chocolate Chip Milkshake: Add a few drops of mint extract and chocolate chips for a refreshing twist.
- Caramel Swirl Milkshake: Drizzle caramel sauce in the glass before pouring in the milkshake for a sweet surprise.
- Spicy Chocolate Milkshake: Add a pinch of cayenne pepper or cinnamon for a subtle, warming spice.
Feel free to get creative and experiment with your favorite flavors and toppings. The possibilities are endless!
Serving Ideas
Chocolate Milkshake Bliss is versatile and can be served in numerous delightful ways:
- Dessert: Serve alongside a slice of cake or a brownie for an indulgent dessert experience.
- Party Drink: Offer as a fun treat at birthdays or gatherings, with a toppings bar for customization.
- Afternoon Delight: Enjoy as a special afternoon snack, especially on a hot day.
- Brunch Surprise: Add to your brunch menu for a sweet, unexpected addition.
No matter how you serve it, this milkshake is sure to bring joy and satisfaction to everyone who tries it.
Storage and Reheating Tips
While it’s best to enjoy your milkshake fresh, you can store leftovers if needed:
- Refrigeration: Store in a covered container in the fridge for up to 24 hours. Re-blend before serving as it may separate.
- Freezing: Pour into an airtight container and freeze for up to a month. Thaw slightly and blend before serving.
- Re-blending: If your milkshake separates, a quick blend will restore its creamy consistency.
Remember, fresh is always best, so try to consume your milkshake soon after making it for optimal flavor and texture.
FAQ Section
Can I use non-dairy ice cream?
Yes, non-dairy ice cream works beautifully. Just ensure it’s creamy enough to maintain the desired texture.
How can I make my milkshake thicker?
Use less milk or add more ice cream to achieve a thicker consistency.
What’s the best type of milk for this recipe?
Whole milk provides the richest flavor, but feel free to use any milk alternative you prefer.
Can I prepare this milkshake in advance?
It’s best enjoyed fresh, but you can store it in the fridge and give it a quick blend before serving.
Conclusion
Chocolate Milkshake Bliss is more than a simple recipe; it’s a journey to a world of flavor and nostalgia. With its rich chocolate taste and creamy texture, it promises to become a favorite in your household. Whether you’re enjoying it as a dessert, a quick treat, or a party pleaser, this milkshake is sure to delight and impress. Remember, great recipes are meant to be shared, so don’t forget to save this one and pass it on to fellow chocolate lovers. And while you’re here, why not explore more delicious creations at MomCooksBest? Indulge your senses and let every sip bring a smile to your face.